


Click Below: on Green This will redirect you to the Flip Screen You Tube Channel.
You have two options: YouTube videos or shorts. Below the flip screen logo, you'll find tabs such as Home, Videos, Shorts, and Playlists. Clicking on Videos shows a complete collection, while Playlists offer specialized selections, featuring model designations and special application markets.
You have two options: YouTube videos or shorts. Below the flip screen logo, you'll find tabs such as Home, Videos, Shorts, and Playlists. Clicking on Videos shows a complete collection, while Playlists offer specialized selections, featuring model designations and special application markets.
NORTEC Representing the Great States of:
Wisconsin, Minnesota, UP of Michigan, Illinois, Iowa
Wisconsin, Minnesota, UP of Michigan, Illinois, Iowa


Click Below to download and print pdf
| model_line_up.pdf |
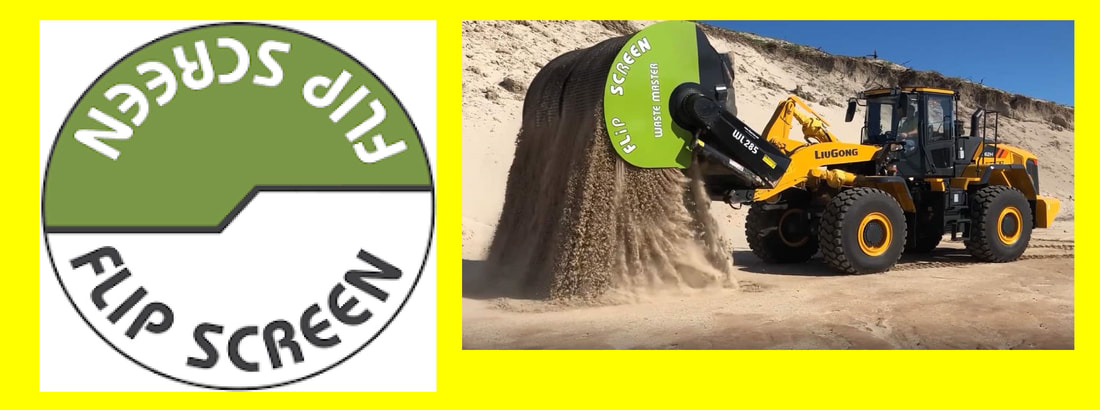
Where innovation meets efficiency - portable material screening solutions.

NORTEC is located in Antigo Wisconsin. Factory outlet store with a selection of Flip Screens for customer viewing. Arrangements can be made for after hours or weekend viewing.
Along with the Factory Outlet Store the Flip Screen Distribution center is also located in Antigo WI. Talk to your dealer. If you elect to drive to Antigo to pick up your new Flip Screen arrangements can be made.


Certified Flip Screen dealer organization providing a business solution for your rock / debris processing needs.
V10 Material Processing
V10.2 Video below shows the processing of somewhat wet sandy material. The main question is when to use the optional broom brush kit. The video is in slow motion for detailed observation. Despite the wet material, the Flip Screen does a respectable job but experiences minor plugging. This can be resolved by installing the broom brush assembly. Notice the stability and lack of vibration on the skid steer. Very stable. In normal speed, it only takes 12 seconds. At the end, observe the large amount of processed material. This customer purchased a Flip Screen model BL65.
V10.3 The video below is A common task involves removing roots and wood from sand or soil material. Additionally, this process often includes handling chunks and clods. The customer also requested that the material be mixed together to produce a sellable product. The customer reported that this method is very cost-effective. He also reported how much product he could process in a short period of time.
V10.4 The video below explains the procedure for removing and installing a different screen. Attaching and detaching a Flip Screen is similar to any other skid steer attachment. It is strongly advised to perform this task on a level surface to ensure ease of alignment between the Flip Screen and the skid steer flippers. The attaching screen hooks have already been released. By rotating backwards, the screen will automatically detach. It is advisable to remove any material from the screening bucket before detaching it by dumping and clearing the bucket. Ensure the screen is raised sufficiently off the ground to allow room for it to detach smoothly upon rotation.
To attach the screen, hook onto the rear edge plate and rotate; the screen will automatically secure in place. As this may be a brand-new screen being installed for the first time, slight coaxing may be required to align the slide properly. After performing the removal procedure several times, the screen will establish a memory for easier future removals. The final step involves securing the lockdown brackets and clamping them in place. Periodic adjustments to the locking hooks may be necessary, requiring no tools – simply screwing in or out to achieve proper retention.
Thanks to forward thinking by Flip Screen, the clips are attached to a steel cable. The customer will then conduct a test rotation, noting the automatic lockdown arms and transitioning the Flip Screen into digging mode.